 Tweet
Tweet
 Send
Send

28 November 2024
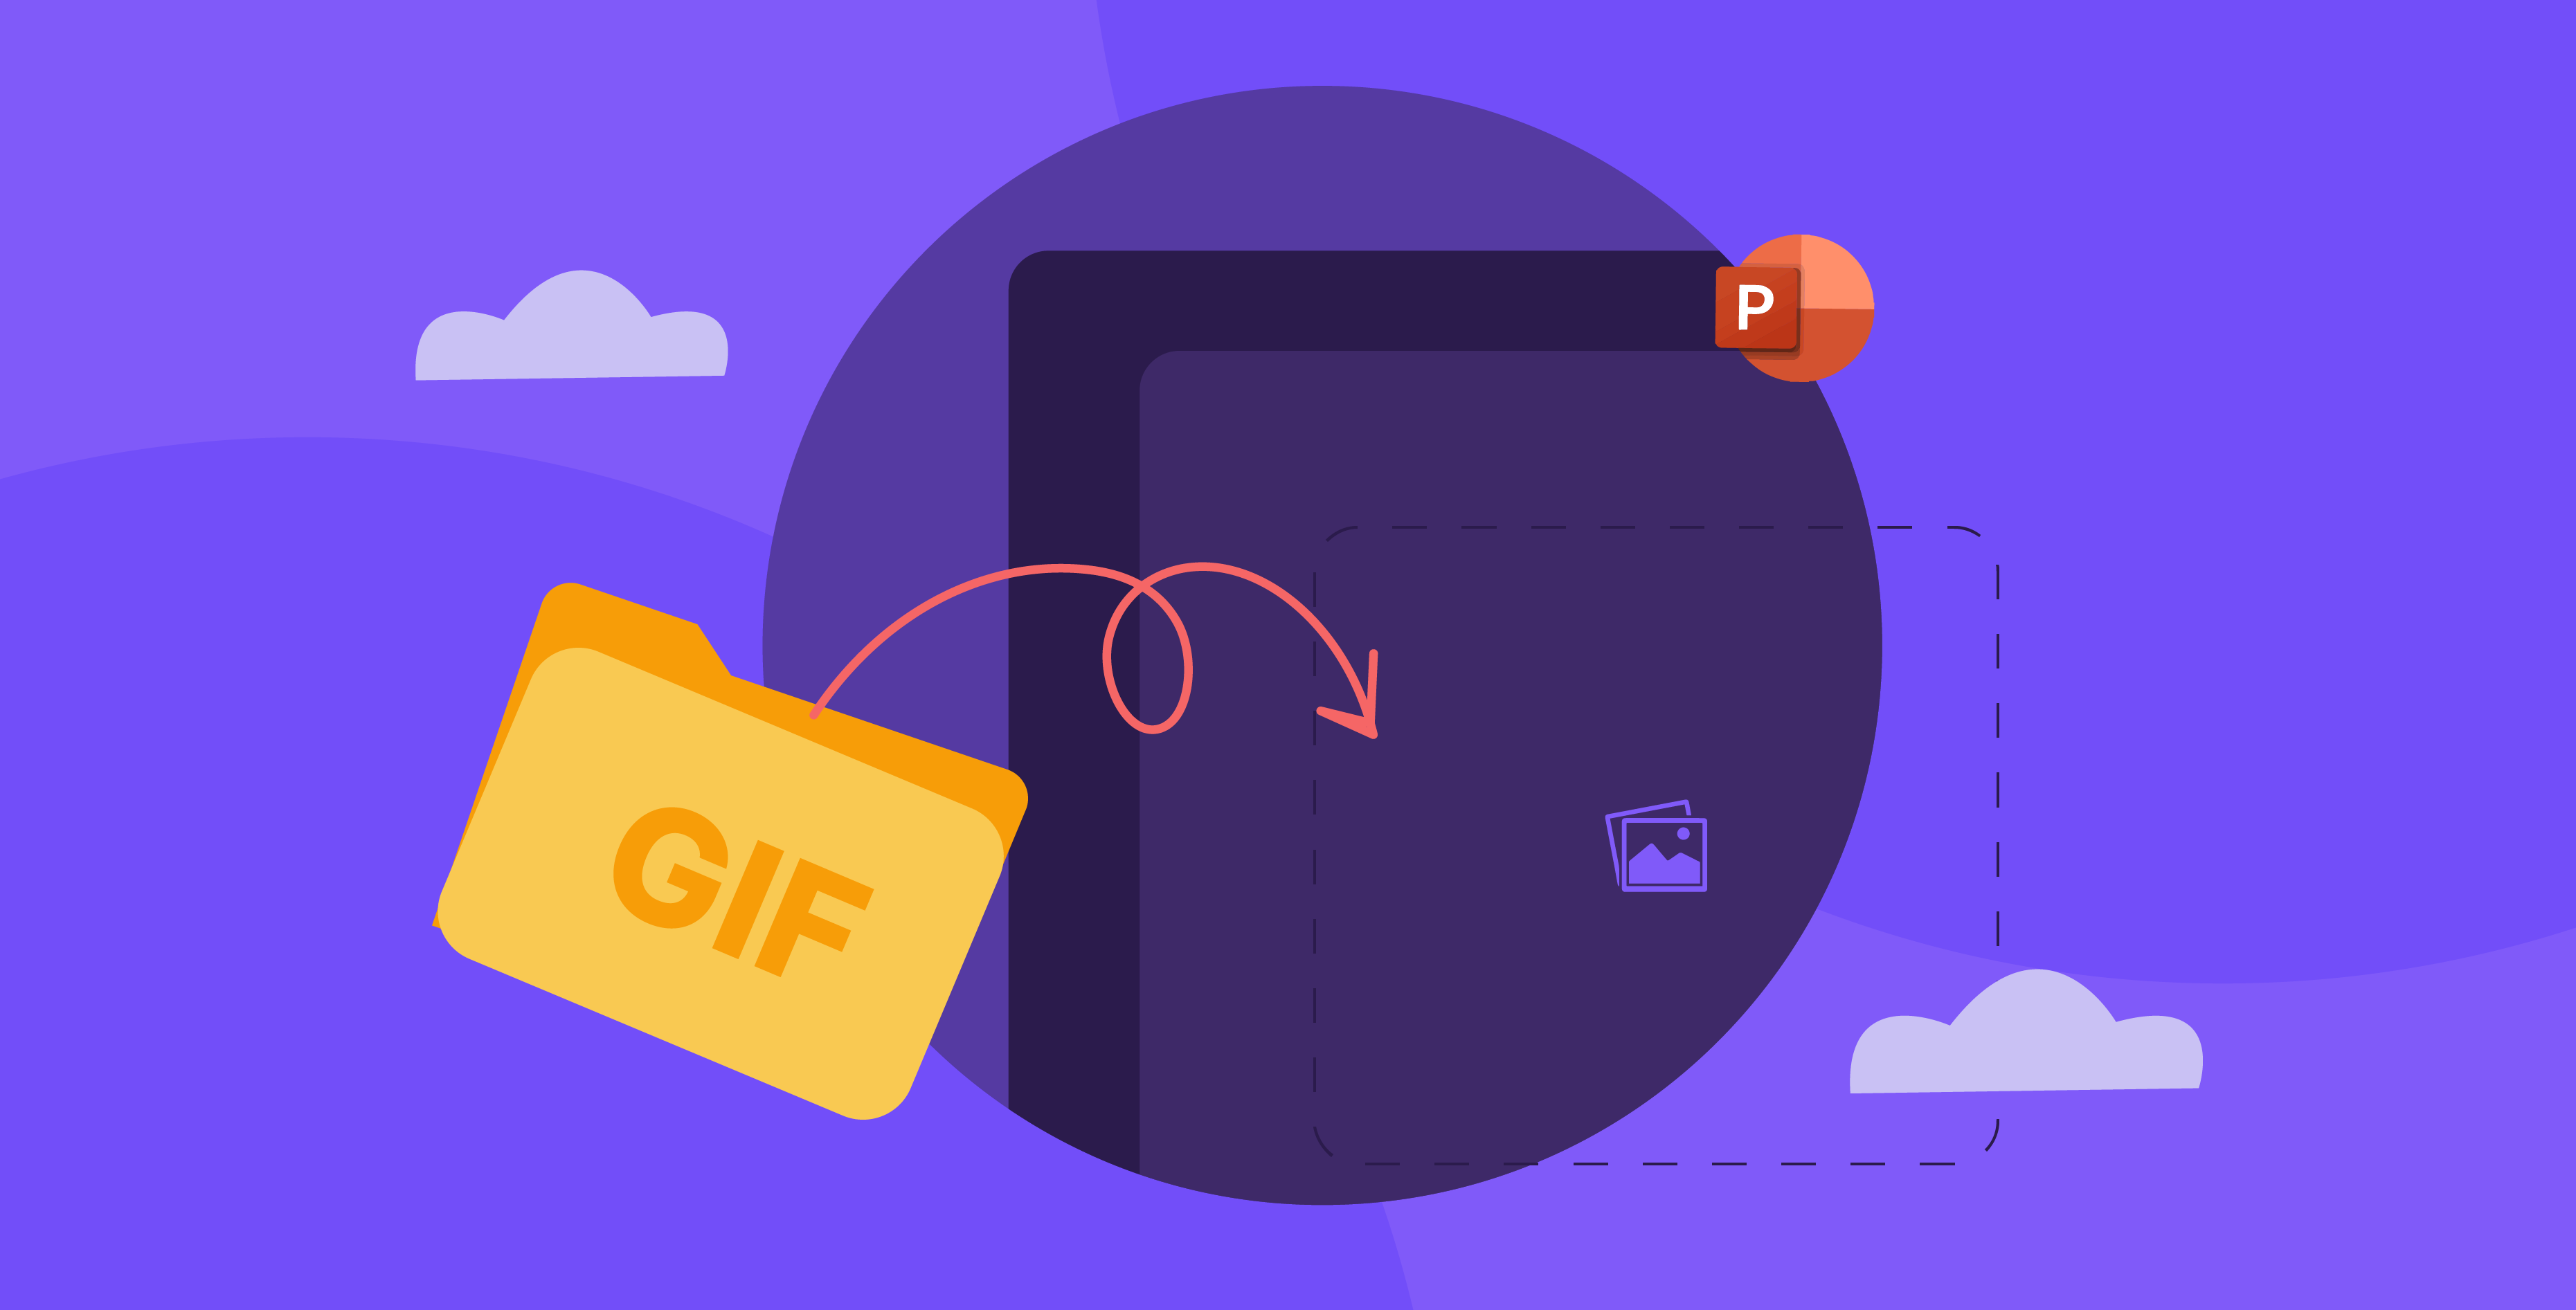
When you think of animated GIFs, you’re probably thinking of the silly loops in your group chats. But what if we told you that they also make a riveting addition to your presentations? Used in social media and increasingly on new sites, GIFs can give your presentation a compelling, lively personality. Their popularity inevitably worked its way into the world of PowerPoint presentations since they can also be used for educational purposes, and now we can’t get enough of them.
What is an animated GIF?
GIF is actually an acronym for graphics interchange format. They are animated image files that loop on repeat, first popularized by the blogging website Tumblr. The GIF format can support nearly 8 bits per pixel and large color palettes, which makes it smaller than JPEGs and therefore faster to load.

Why use GIFs in presentations?
Animated GIFs are a middle ground between images and videos. They add a touch of humor and lightness and can spark up a presentation with their vitality. Their short, looping format is convenient and won’t interrupt or take time. And they often have such a small file size that there isn’t any concern about crashing your PowerPoint or lagging. Using GIFs is ideal as it adds an interactive element to your presentation, such as an animated logo, graph, or even an infographic.
How to find GIFs for presentations?
If you’re interested in using an animated GIF for your presentation but don’t have one ready, you don’t have to worry. You can easily find hundreds, if not thousands, of GIFs online. Googling your keywords plus “GIF” is a great starting point. Websites like GIPHY and Tenor have thousands of GIFs you can browse and search through.
You can also use this search method in PowerPoint. On the slide where you want to add your GIF, find the Insert tab and go to Pictures. Click on Online Photos to find a pop-up webpage that lets you search for Creative Commons images on Bing.


How to insert a GIF in PowerPoint
Once you have a GIF you want to use in your presentation design, you can easily insert it into a PowerPoint. The process is similar to adding regular images but with a couple more steps.
Starting at the slide where you want to add your GIF file, go to the Insert tab and select Pictures. Find the GIF in your File Explorer and insert it.


To animate it, jump to the Slide Show tab above and select the From Current Slide in the Start Slide Show to have it play.

How to insert a GIF in Google Slides
Similarly, if you want to embed a GIF in Google Slides, you would start by going to the slide you want. Go to Insert and select Images. Click on Upload from computer.

In the pop-up File Explorer, find the GIF you want to add and click on Open.

Adjust and format your GIF accordingly.
How to insert a GIF in Keynote
If you’re using Keynote on a Mac device, you could still add a GIF by dragging a dropping the gif file from your computer into a slide. You could drag and adjust the GIF the way you would an image.

Find the Format button above and switch to the Movie tab.
You can untick Start movie on click to play the GIF as you go on the slide automatically. And in the Repeat menu, you can choose to turn off the loop, so the GIF can only play once and stop.

How to insert a GIF using URLs
Typically, you might find a GIF you like online but not a direct download link. Or maybe you prefer to add it directly to your presentation without downloading. In that case, on PowerPoint, you could add a GIF using its URL. You right-click and select Copy Image Address.

On the slide where you want to insert your GIF, go to Insert, click Pictures, and select This Device.

In the File Explorer, find the Tools menu and select Link to File.

Paste the address into the File name and press Insert.

How to play animated GIFs
Once you insert a GIF in PowerPoint, you will notice a small play icon directly on the GIF itself. You could click on that to play and pause the GIF as you please. Or if you want to guarantee that the GIF plays automatically during your presentation, then you go to the Slide Show tab, find the Start Slide Show section, and select From Current Slide to have the GIF play on a loop as you present.
How to stop a GIF from looping
If an animated GIF keeps replaying, it can distract you and your audience. This is especially true if you are going to stay on a particular slide for a while. You can, however, fix the number of loops a GIF plays so it doesn’t detract from your presentation.
Using the website ezgif.com, you can edit and create GIFs to suit your needs. First, go to the Split page, where you can then select your GIF by either uploading it or linking it. After you upload it, find the Split to frames button below the displayed GIF to divide it into a set of frames.
At the very bottom of the page, below all the frames of the GIF, you will find the Edit animations button. Find the GIF Options box and in the Loop Count box, add the number of loops you would like your GIF to have. Once you’re done, click on Make a GIF! to produce your new GIF. Click on the floppy disk icon to Save. After you’ve checked your GIF, you can add it to your PowerPoint.
Editing a GIF in PowerPoint
Sometimes, you might want to adjust the size or position of a GIF to make it work within a certain layout or perhaps maintain consistency across different slides. Similar to images in PowerPoint, you can adjust, resize, drag, and rotate a GIF to your liking. In the Format tab, you will find a variety of effects, borders, shadows, reflections, or other options to add to the GIF. Note that although formatting options will not affect a GIF’s animation, some effects might cancel it and render it a still image.
Editing a GIF in Google Slides
Google Slides offers several options and tools for you to edit your GIF. These tools allow you to modify everything from the transparency, color, brightness, contrast, shadows, reflections, and transitions of the GIF to adapt it to your presentation’s theme.
Refrain from using too many effects on your GIFs, as it will overwhelm them and come off as unprofessional.
How to create a GIF?
Do you have an idea for a GIF you’d like to bring to life and hopefully use for your presentation? Luckily, there are ways to create GIFs that don’t require an extensive animation background.
Create a GIF directly in PowerPoint
To create a GIF in PowerPoint, you will need to create a base of several frames first.
To start, insert the intended image which, in this case, could be an icon from the Insert tab Illustrations section.

Then duplicate the slide, and make any changes to your icons in the new slide. It could be a change to its position, color, and size (or aspect ratio). You could continue this process until you have the number of frames you need to create the animation you want.

Next, go to the Transitions tab, find the Transition to This Slide group, and select the Morph transition for each slide. Still in the Transitions tab, you can also go to Effects Options and add additional effects to your work.

You can check how your animation looks by clicking on the Preview option in Transitions.
Once you’re satisfied, go to File and then Export.

From there, you’ll find Create an Animated GIF. In that window, you can select the gif file size you want and how many seconds you want to spend on each slide. Lastly, click on Create GIF. Wait for the loading bar to complete its progress and congratulations! You’ve made a GIF!

Create a GIF in Photoshop
To create a GIF in Photoshop, you will need a bit more experience and a grasp of the basics of the program. Photoshop can let you turn your own images into animated GIF files.
To begin, you will need a series of photos that can constitute an animation, think stop motion. Note that all the images should be taken from the same angle and have the same number of pixels. Start by modifying the images to appear as they should in the GIF.
Import images into the Photoshop program through File, then Scripts, then Load Files into Stack. Browse to find your photos, select all, and click Open. They should now appear in a single-layer file, and on the right, you will find several layers, which will become the frames of your GIF.
Then go to the bottom, find Window, and select Timeline. Click on the arrow in the center of the panel and click on Create Frame Animation. This should move the first photo into the timeline.
Now to turn the layers into animation frames, go to the menu at the top-right corner of the Timeline panel and select Make Frames From Layers. In case your photos are not in order, you can go back to the Timeline menu and click on Reverse Frames.
Under each frame, insert how long each should appear, between 1 and 5 seconds is ideal. You can also adjust the loop, flip, and copy and paste the images.
However, when you want to copy and paste, make sure to set the playback time beforehand instead of resetting it for every copy. You can copy the images by selecting all the images and clicking Copy Frames in the righthand menu, and then paste them by clicking Paste Frames. In the Paste Frames window, select Paste After Selection so you can reverse the frames.
Back in the main righthand menu, select Reverse Frames as we did earlier, and once two identical frames appear, delete one to prevent the GIF from lagging. You can now preview what you’ve made by clicking on the play button.
Check that the infinite loop is set to Forever in the bottom left corner, then save the file as a GIF. Now save it by selecting File, Export, then Save for Web.
Uses for GIFs in PowerPoint presentations
It’s tempting to use GIFs in your presentation; they add a dynamic quality that certainly grabs attention. Fortunately, there are loads of creative and practical ways to incorporate them. For example, you could have animated icons, have them add subtle background motion or a GIF that flips through several images.
You can also use them to clarify or illustrate ideas like showing data changes, explaining metaphors, changing colors to show progress or even showing a mini-tutorial on how to use a feature in an app or website.
Whichever way you choose to use GIFs, it guarantees added value to your presentation by amplifying your ideas and infusing your PowerPoint with energy.
Animated GIFs are a refreshing addition to break away from the typical presentation formula. Easy, fun, and eye-catching, they are a unique format that gives life to your slides and will ensure that you stand out. Cut to the chase and liven up your presentations with movement that strings your audience along.
References:
- GIF (1): https://techcrunch.com/2015/06/04/tumblr-debuts-its-own-gif-search-engine/